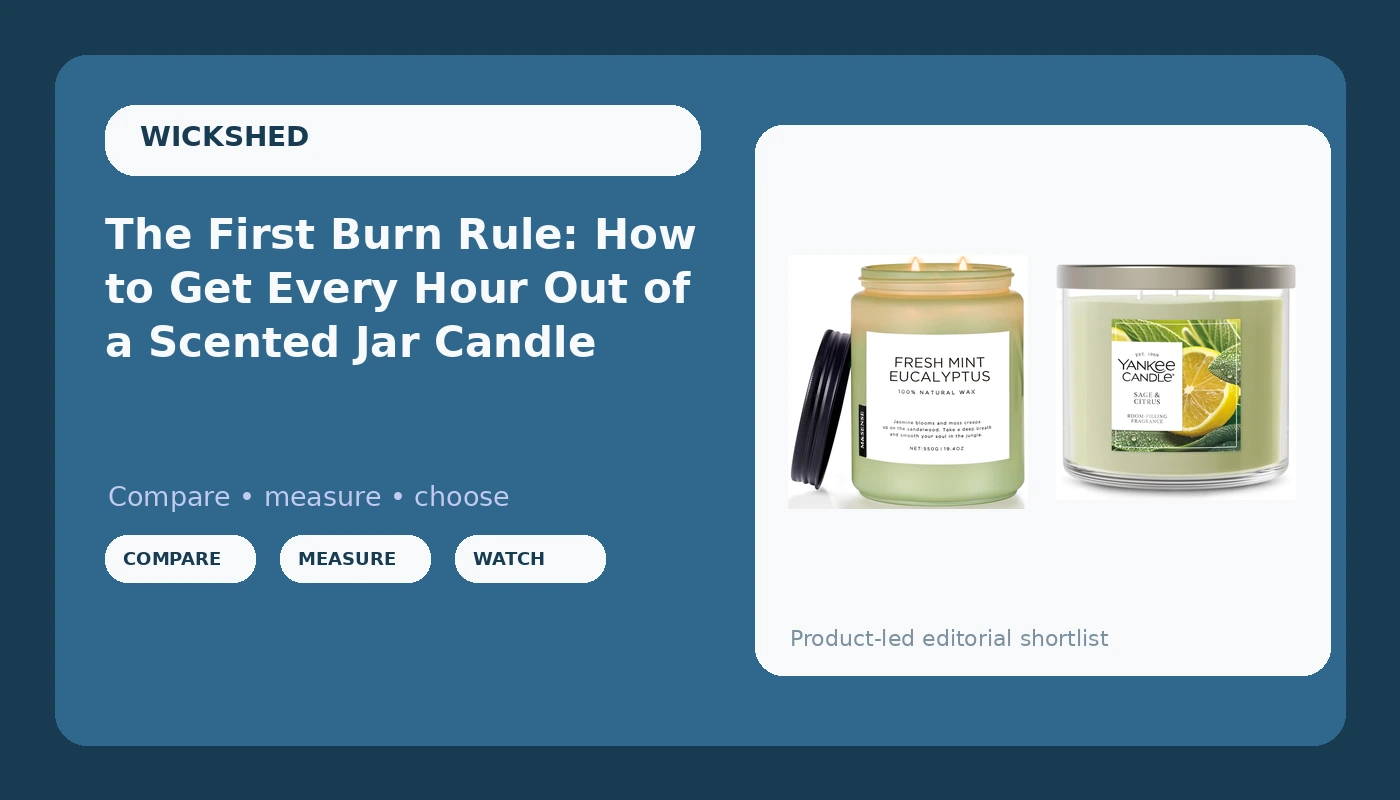
Most scented jar candles fail in the first three hours. Not because the wax is cheap and not because the fragrance oil was watered down. They fail because the first burn got cut short at 45 minutes, the wick was never trimmed, and the melt pool never reached the glass.
I spent nine years in the pouring room of a contract candle factory outside Cincinnati before I opened a 300-square-foot shop called the WickShed on the edge of Over-the-Rhine. That factory poured the same soy-paraffin blend into a dozen different jars and let other brands take the credit. What I learned there, mostly from a foreman named Ray and a laminated wick chart on the wall, is that a candle is three things agreeing with each other: wax, wick, and fragrance. The label is the last thing I read.
The scented jar candle first burn is not a warm-up. It is the performance. Here is the drill, start to finish.
Why you should trust me
Nine years in a pouring room taught me wick selection before it taught me anything else. Four years behind a shop counter taught me what actually happens in a living room, which is not what happens in a lab. When customers asked which candle to buy, I stopped guessing and started burning: every candle I stocked got burned at home in a closed 12x12 room with a stopwatch, a notepad, and a ruler for flame height. Hot throw at hour one and again at the halfway mark. Soot check at hour four. Total burn hours divided by price.
The shop closed after four years. The journal did not. Nothing gets recommended here without 50 or more logged burn hours behind it, spread across multiple three to four hour sessions. I still trim wicks with kitchen scissors, and I still pour the occasional soy batch for friends' weddings.
How I picked and how I tested
The method matters more than the jar, so here it is, and it is the same for both candles below.
Cold throw first, nose an inch from the unlit wax. That tells you what the fragrance oil smells like, not what the candle will smell like. It is the cheapest test and the least honest one.
Then the timed first burn. Wick trimmed to a quarter inch, jar out of drafts, stopwatch running. I check the melt pool every 30 minutes and note how far it is from the glass. Flame height gets measured at hour one and hour three with a ruler beside the jar, not eyeballed. Mushrooming gets logged the moment the wick tip balls up. Soot gets logged the moment a black line appears on the glass.
Then the back half: relights with a fresh trim, four hours maximum per session, and a note on whether the hot throw held past the halfway mark or fell off a cliff.
The two jars below behave differently on purpose. One is a three-wick, paraffin-heavy jar that throws hard from the first hour. One is a large natural soy jar that wants a slower, longer first burn. That difference is the whole lesson.
Two jars to run the drill on
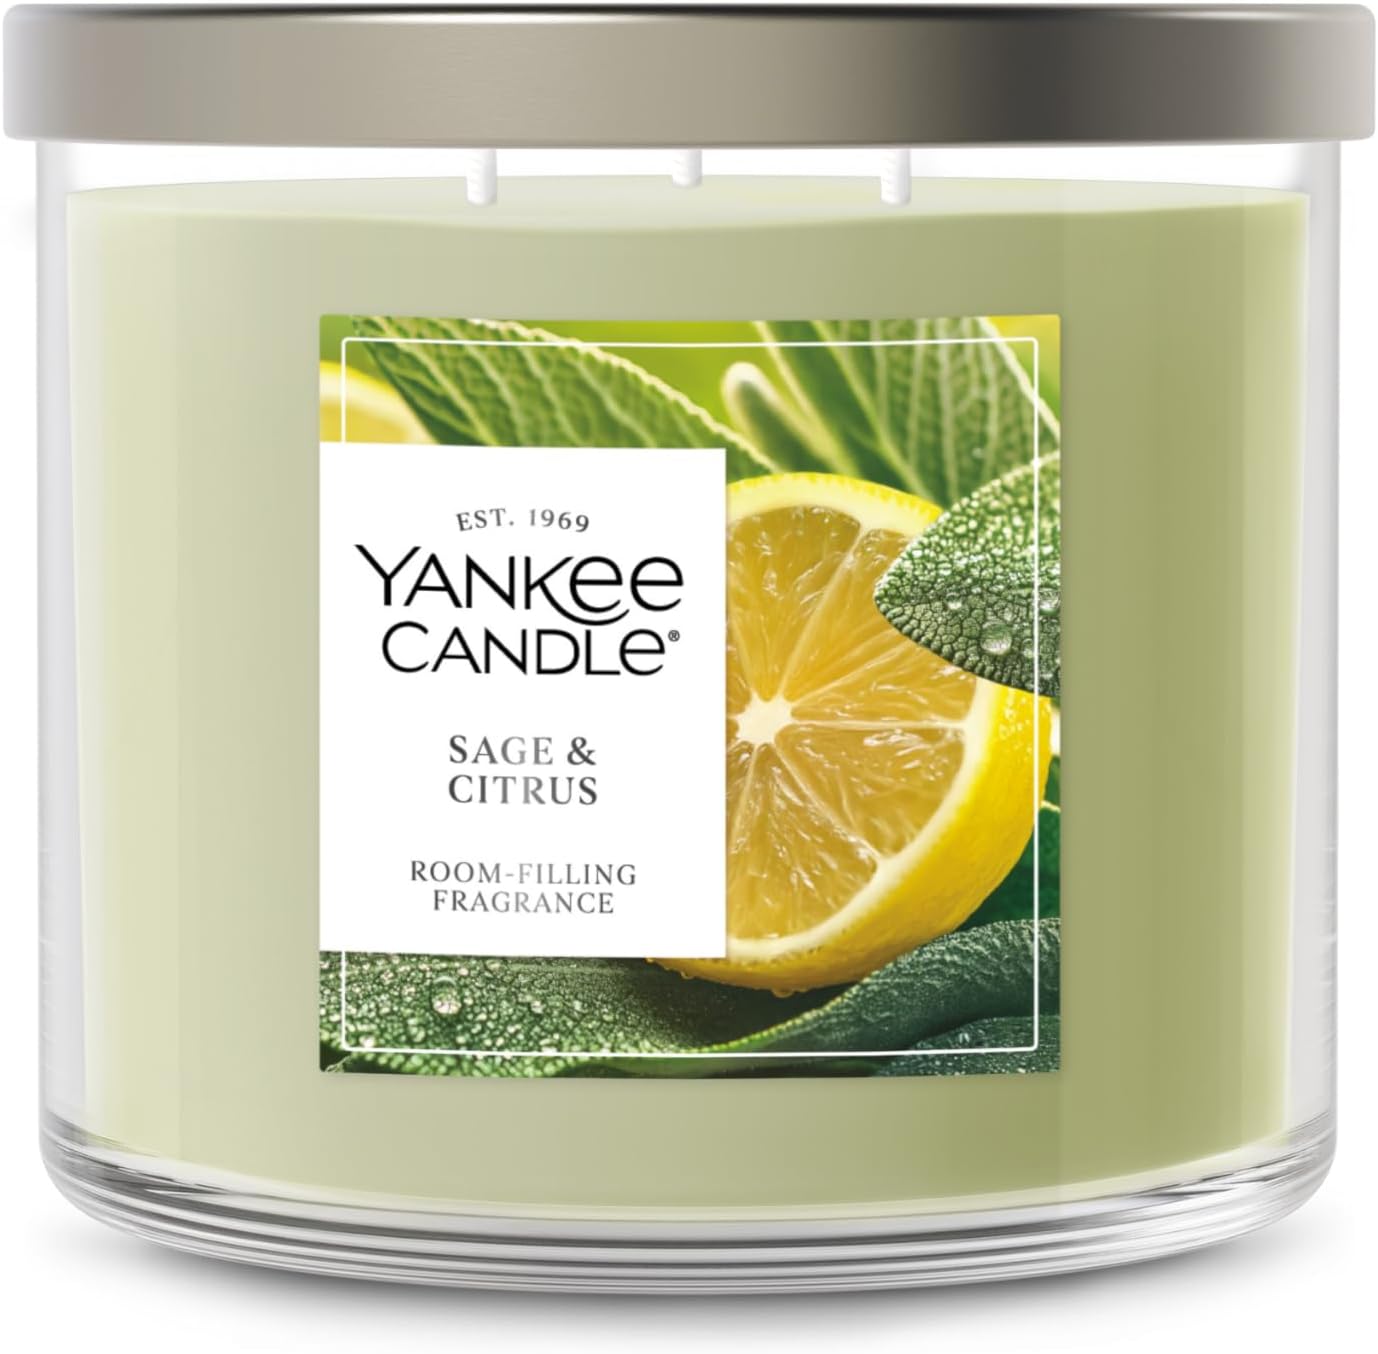
Our pick: Yankee Candle Sage & Citrus Scented Candle, 14.5oz 3-Wick
 Visit on Amazon →
Check current Amazon price. Three wicks in a 14.5 ounce jar is the configuration I hand to anyone learning the first burn rule, because three wicks make the lesson obvious. You have three wicks to trim, three flames to keep even, and a melt pool that reaches the glass quickly when you do it right and tunnels in three places when you do it wrong.
Sage and citrus is a bright, herbal, sharp pairing, which is useful at hour one and hour three because the citrus top note is the first thing to fade. If hot throw collapses, you hear it in this scent before you would hear it in a heavy vanilla.
Flaws but not dealbreakers: Three wicks mean three times the trimming and three chances to leave one wick longer than the others. Uneven wicks make an uneven pool, so trim them together every time.
Anyone who wants a jar that announces itself in the first hour without being coaxed should start here.
Upgrade pick: M&SENSE Eucalyptus & Mint Scented Jar Candle, Large 19.4oz Natural Soy Wax
 Visit on Amazon →
Check current Amazon price. A 19.4 ounce natural soy jar with a single wick is the other half of the lesson. Soy blends burn cooler than paraffin-heavy blends, and a wide jar with one wick is the classic tunneling setup. The first burn here is not optional and it is not a 45 minute job. That pool has to travel the full width of the glass or you will be looking at wax walls for the rest of the jar's life.
Eucalyptus and mint is a cool, green, almost medicinal pairing, the kind of scent that reads clean instead of sweet. It is also a fair test of hot throw, because eucalyptus carries and mint does not. If the mint is still there at hour three, the fragrance load is honest.
Flaws but not dealbreakers: A large single-wick soy jar is the slowest first burn in this guide. Budget an evening, not a quick errand.
Anyone who wants a longer, gentler, cooler-burning jar and will give the first burn its time should look here first.
The first burn drill, step by step
This works on any scented jar candle with a wick, at any price.
Step one: Trim to a quarter inch. Every wick, before the first light. Kitchen scissors work and a trimmer is nicer. A quarter inch of wick gives a flame tall enough to melt wax and short enough not to mushroom. Longer wicks burn hot and dirty, and shorter wicks drown in their own melt pool.
Step two: Pick the spot. Flat, heat-safe, out of drafts, at least a foot from a wall or curtain. A candle in a draft tunnels on the draft side. A candle under a shelf feeds heat back into its own jar. Both are first-burn mistakes you cannot undo.
Step three: Light all of it. On a three-wick jar, all three wicks get lit every time. Leaving one dark to save it means that side of the jar never melts. On a single-wick jar, light the wick at its base, not at the tip.
Step four: Let the pool reach the glass. This is the rule the whole article exists for. A small jar takes about two hours. A large single-wick soy jar can take three. You are waiting for a complete circle of liquid wax touching the inside wall, all the way around, with no islands of hard wax at the edge.
Step five: Do not quit early and do not run long. A first burn that stops at 45 minutes leaves a small pool and a hard ring, and the next burn starts from that ring. Past four hours the wax gets hot enough to overwhelm the wick and the jar soots. Two to four hours is the window. Hit the glass, then put it out.
Step six: Snuff it, do not blow it. Blowing sends a plume of soot into the air and often into the wax. A snuffer, or the jar's own lid set down and slid across, kills the flame without smoke.
Step seven: Re-trim before the next light. Every relight if you are disciplined, every other relight at minimum. After a burn the wick re-hardens with a curled carbon head, which is the mushroom. Trim it off and the next burn starts clean.
Step eight: Log it. Date, flame height at hour one and hour three, when the mushroom showed up, whether a soot streak appeared. Two lines in a notebook. After three candles you will know which jars in your house are honest.
What decides the back half of the jar
Keep sessions at four hours or less. This is the rule I break least often and the one I broke once during a nine hour show binge, which is how I know it is real. The jar streaked with soot and I logged it as penance.
Trim on a schedule, not on a feeling. If you cannot remember the last trim, trim now. Mushrooming kills flame height, and flame height is what makes hot throw.
Foil-tent a tunneled jar. Wrap the top in aluminum foil, poke a hole over the wick, and burn it for a couple of hours. The foil traps heat and forces the edge wax back down. It fixes small tunnels, not large ones.
Retire the jar at the last half inch. Burning to the bottom overheats the glass. At half an inch the jar is done as a candle and starts as a vessel.
Consider a warmer lamp for bedrooms and for the last inch. A warmer melts the top of the jar with a bulb and no flame, so there is no soot, no mushrooming, and the jar lasts roughly three times longer. Hot throw is gentler than a flame and you lose the ritual. It is also not for every candle: thick pillars and tall tins sit too far from the bulb, and a cheap warmer with no height adjustment will scorch the label off a jar you love. Check the height range before you trust it with anything expensive.
The competition and why it lost
Every alternative to a burning jar candle solves a different problem, which is why none of them replace the drill above.
Wax melts and plug-in diffusers give you fragrance with no wick to trim, no melt pool to manage, and no first burn to get right. They also give you a flat, constant scent with no arc and no flame. If you want the smell and none of the work, they are the honest answer.
Beeswax pillars are their own craft. A pure beeswax pillar burns clean and long with nothing added, and the honey smell comes from the wax itself. A pillar does not need a first burn the way a jar does. It needs a centered wick and a draft-free room. Different discipline, different guide.
Warmer lamps sit in the middle. I keep one on my desk for the last inch of a jar and for the bedroom, where the smoke detector is aggressive. It is a real category, not a compromise, and it is still not a replacement for a match.
Cheaper three-wick jars and big-box seasonal jars can be fine. The problem with most of them is not the wax, it is the burn, which is the entire point of this article.
What this all costs
The drill costs nothing. No trimmer, no snuffer, no warmer. Kitchen scissors, a clock, and the patience to leave a candle alone for three hours.
Where money comes in is the jar, and the only honest comparison is cost per burn hour. Check current Amazon price on whatever jar you are considering, then divide by the burn hours you actually expect, not the number printed on the label. A jar that burns clean and even for a long stretch is cheaper per hour than a bargain jar that soots up by hour six with half its wax still standing.
That is the job. Trim the wick, give the first burn its three hours, and let the melt pool do the rest. Your candle was built to do this.