
Most candle complaints that land in my inbox are the same complaint wearing different hats. The scent is weak. The wax is tunneling. The jar is streaking black. All three usually trace back to a candle melt pool that never reached the edge of the glass on the first burn. The wick was undersized for the jar, or it was trimmed wrong, or the candle got blown out at the 45 minute mark because someone had to leave the house.
The fix is not a new candle. It is a quarter inch of wick, a lighter, and a two to three hour window you actually protect. I have poured wax for other people's brands, sold jars across a counter for four years, and kept a burn journal that outlived the shop. The first burn decides everything that happens after it, and the first burn is the one part of a candle's life you fully control.
Here is the routine I hand to anyone who asks why their candle stopped smelling like it did in the store, plus the two formats I keep around for practicing it.
Why you should trust me
I spent nine years in the pouring room of a contract candle factory outside Cincinnati, which means I made the candles that other companies put their own names on. I learned wicking from a laminated chart on the wall and from a foreman named Ray who could identify a wick by running it between his fingers, and I learned early that "premium" on a label is a sticker, not an ingredient.
Then I opened a 300 square foot candle shop called the WickShed on the edge of Over-the-Rhine, poured my own soy in the back, stocked other makers' jars up front, and burned every single one of them at home. Closed 12x12 room. Stopwatch. Notepad. A ruler for flame height. The shop lasted four years. The journal is still going, and it is the only reason I trust my own opinion about a candle.
How I picked and how I tested
This is not a list of the best candles in the world. It is a list of the two formats that make the first burn easiest to learn on, because the skill transfers to every jar you buy afterward.
When I look at any candle now, I run the same seven questions. What is the wax blend and the fragrance load in the fine print. What wick is in it, and does that wick match the jar diameter. What does it smell like cold, an inch from the wax. Does the melt pool reach the edge inside three hours. What is the hot throw at hour one and again at the halfway mark. Is there soot or mushrooming by hour four, and was the wick trimmed before that burn. And finally, what does it cost per clean burn hour.
For a gift set or a sampler, I care about one extra thing: whether each unit is small enough to finish in a few sittings. A small candle you actually burn through teaches you more than a three pound jar you are afraid to waste.
Two formats worth starting with
These do different jobs, and the second one does not use a flame at all, which changes the rules entirely.
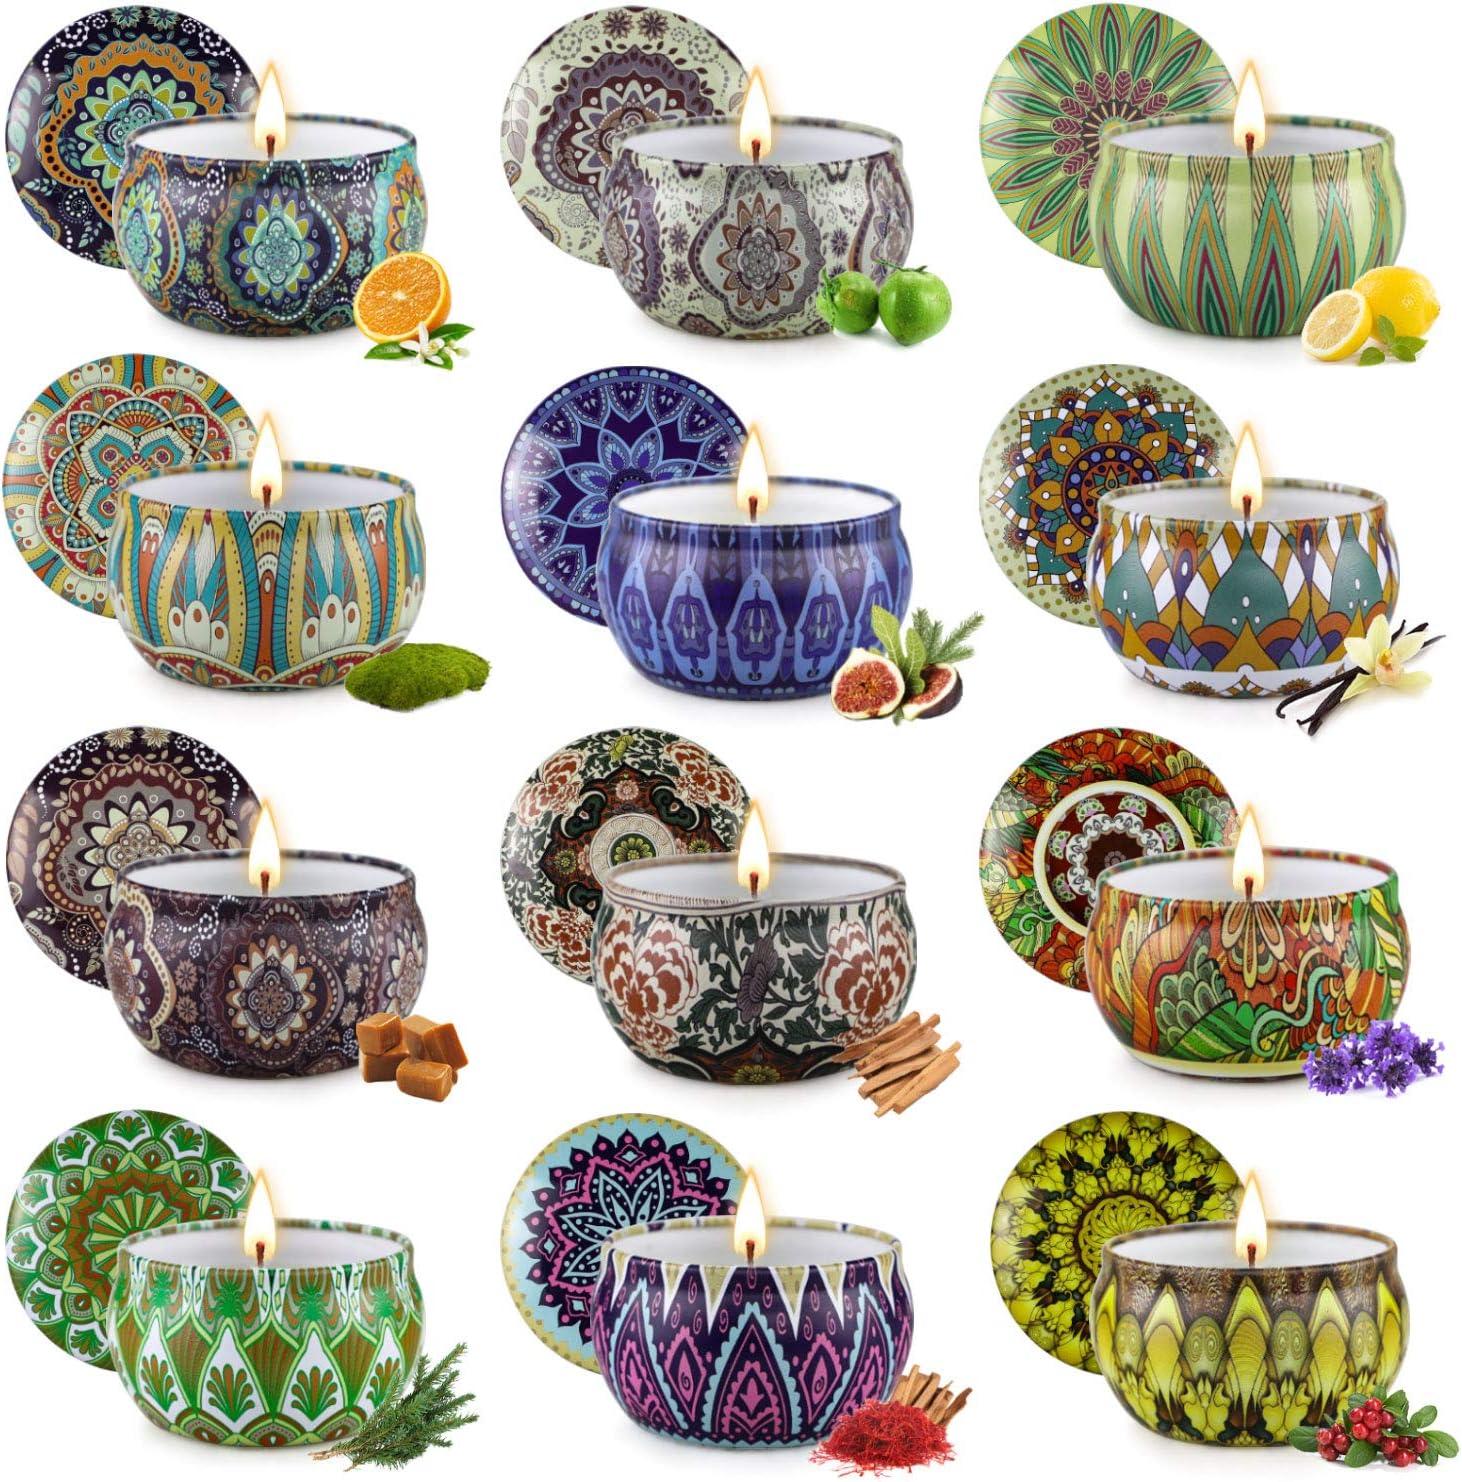
Best for practicing the first burn: Scented Candles Gift Set, 12 Pack Soy Wax Aromatherapy Candles
 Visit on Amazon →
A twelve pack of small soy candles is the cheapest way to run the drill over and over. Small vessels heat up fast, which means the melt pool either reaches the rim quickly or it does not, and you find out in one evening instead of one weekend. Twelve units also means you can sacrifice one to a bad burn and learn something from it without wrecking a jar you paid real money for.
The tradeoff with small soy candles is throw. Less wax and less exposed surface means a gentler hot throw, so treat these as a bedroom, bathroom, or desk candle rather than something meant to carry an open plan living room. Soy also tends to want a slightly longer first burn than paraffin to reach a full pool, so do not panic at the 90 minute mark if the pool is still creeping outward.
Flaws but not dealbreakers: A multi-scent set means you cannot judge all twelve by one. Burn them one at a time, in the same room, so your nose is comparing the candle and not the room.
Anyone learning the routine, or buying a gift for someone who has never trimmed a wick in their life, should start here.
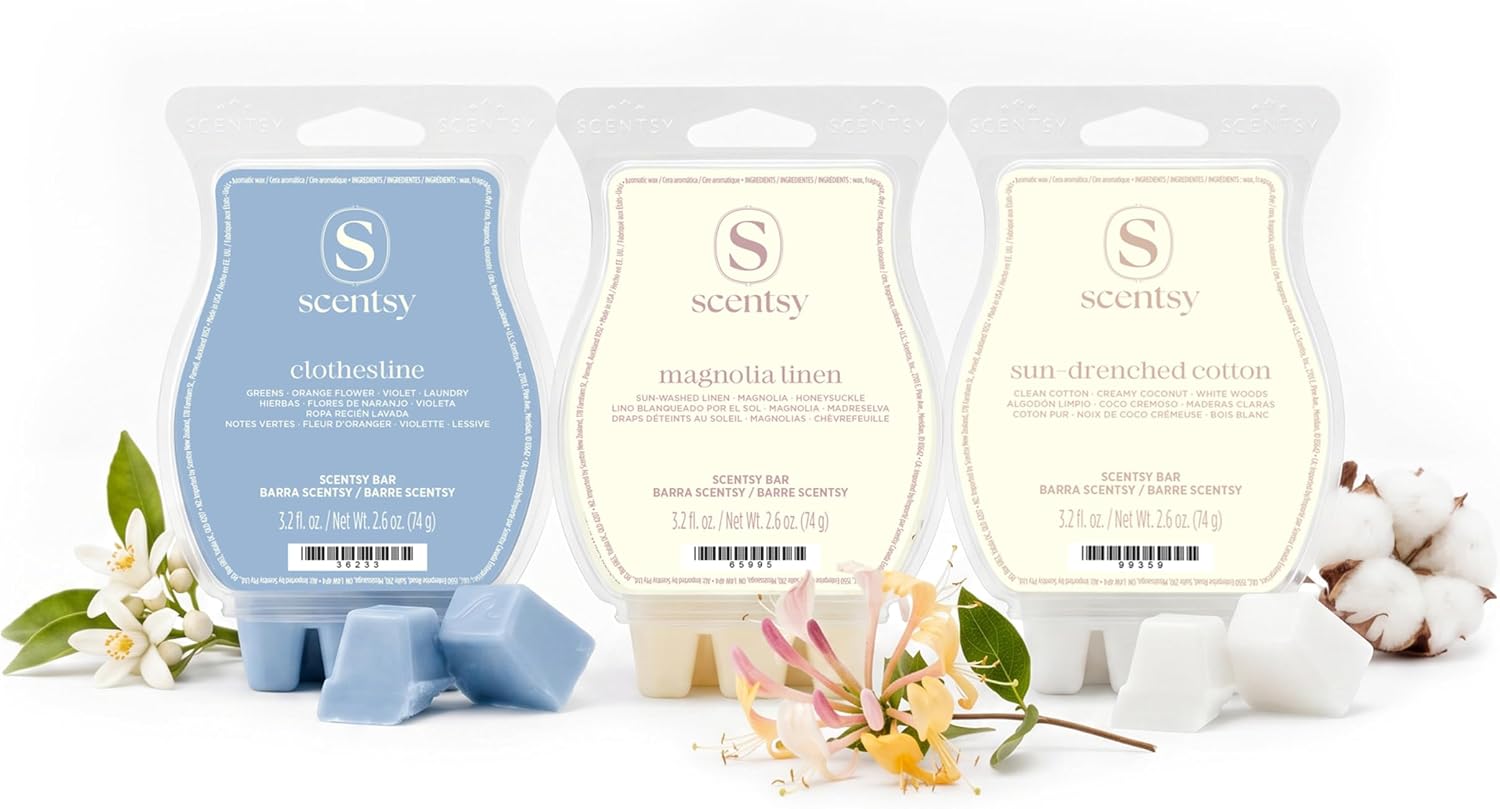
Best for rooms with no flame: Scentsy Wax Melts, Fresh From the Line 3 Bar Set, Paraffin Wax Cubes, 7.8oz
 Visit on Amazon →
Wax melts are a different craft, and I say that as someone who poured soy for a living. There is no wick, so there is no wick chart, no trim, no melt pool to chase, and no flame height to log. What you get instead is a warmer doing the work and a fragrance load that has to carry the entire performance on its own.
Paraffin cubes like these tend to throw harder and faster than a soy melt, which is exactly why they are the right pick for a hallway, a bathroom, or an apartment where the smoke detector is wired into the building alarm. The fragrance is the product here. You are not watching a flame. You are just filling a room.
The catch is that the warmer is a separate purchase, and it matters more than people think. A cheap warmer runs too hot and cooks the scent out of the wax in an hour, which is why the same melt can smell great at a friend's house and flat at yours. Get one with a dimmer or a low and high setting, and start on low.
Flaws but not dealbreakers: Once the scent fades, that wax is done. You cannot rescue a spent melt by adding more heat, and you should not top it up with a different scent unless you want a blended mess.
Anyone who wants fragrance without an open flame, especially in a bedroom or a rental with strict rules, will get more out of these than out of another jar.
The actual first burn workflow
This works on any wicked candle in a jar. If you have a pillar, a taper, or a votive, read the note at the end of this section.
Step one: Trim the wick to a quarter inch. Not an eighth, not half. A quarter inch. Kitchen scissors work if you hold them level and do not crush the wick. Trim before every single burn, and if you see a carbon ball on the tip, that is mushrooming, and it means you waited too long.
Step two: Check the wick against the jar. A wick that is too thin for the diameter will never push a melt pool to the edge, no matter how long you burn it. If your candle tunnels twice in a row at the same depth, the wick is undersized and the candle is at fault, not you.
Step three: Put it somewhere without a draft. A ceiling fan, an open window, or an air vent across the room will bend the flame and make one side of the jar burn hot. A leaning flame makes an uneven pool, and an uneven pool becomes a tunnel.
Step four: Light it and commit to two to three hours. This is the whole rule. The first burn has to melt wax all the way to the rim of the glass. Blow it out at 40 minutes and you have taught the candle to burn a narrow shaft down the middle, and it will keep doing that for the rest of its life.
Step five: Watch the clock, not the scent. The first burn is about geometry. Scent comes later. A candle that smells amazing in 20 minutes and tunnels by hour three is a worse candle than a quiet one that pools edge to edge.
Step six: Never burn longer than four hours. Past four hours the wick gets long again, the flame climbs, and soot starts streaking the glass. Blow it out, let it cool, trim, relight. If you want a candle going all evening, burn it in two sessions instead of one long one.
Step seven: Fix a tunnel early. If the pool is narrower than the jar after three hours, you can sometimes save it. Wrap a ring of aluminum foil around the top of the jar with a hole over the center. That traps heat and pushes the melt outward. It is a rescue, not a routine.
Step eight: Log it. Date, hour, flame height, whether it mushroomed, whether it sooted. Two lines in a notebook. After a month you will know more about your own candles than most reviews on the internet, because you will be measuring instead of vibing.
For pillars and tapers, the wick rules still apply but the pool rules do not. A pillar is designed to tunnel slightly and leave a wax shell standing. Trim, keep it out of drafts, and never leave it burning unattended.
The formats that make this harder
Not every candle wants to cooperate with the routine above, and it is worth knowing which ones fight back.
Multi-wick jars burn hot and fast. Three wicks mean three flames pooling at once, which is why the mood arrives in minutes and the jar is empty in a fraction of the hours you get from a single wick large jar. Great for a dinner party. Bad value per hour.
Wooden wicks crackle and look wonderful, and they demand more attention than cotton. They want a shorter trim, they are fussier about drafts, and a wooden wick left untrimmed will struggle to stay lit at all.
Pillars and beeswax columns are their own thing. A pure beeswax pillar with no added fragrance is the cleanest burn I have logged, and the honey smell comes from the wax itself rather than a fragrance oil. It is also the least throw-heavy candle you can buy, so do not expect it to fill a room.
Tea lights and cheap warmers are the two most common ways people ruin the experience. A tea light is a short candle with a short pool and no real throw, and a warmer without a dimmer will cook your wax. Neither is a scandal. Both are just the wrong tool for the job.
What this all costs
The honest comparison between two candles is not the sticker price. It is price divided by clean burn hours, and clean is doing real work in that sentence.
A cheap candle that soots up the jar by hour six costs more per hour than a jar at three times the price that burns clean for eighty, because you are paying for the throw you did not get and the jar you have to throw away. Run that math on anything you buy twice.
For the two formats above, the gift set is the low commitment entry: twelve small candles you can practice on, gift, or scatter around the house. The wax melts are the ongoing cost, because the warmer is a one time purchase and the bars are not. Neither is expensive per evening, and both are cheaper than a candle you stop burning because it tunneled in week one.
The routine itself is free. A quarter inch of wick, a two hour window, and a notebook. That is the entire investment, and it is the difference between a candle that smells like the store and a candle that smells like a candle.
Check the pool at hour two. If it reached the glass, you did it right.