Most candles don't fail at hour forty. They fail in the first hour, quietly, while nobody is watching the melt pool. I have burned a lot of jars with a stopwatch in one hand and a notepad in the other, and the pattern never changes: the candle that tunnels, mushrooms, or paints a soot streak down the glass was usually mishandled on day one. If you want to know how to burn candles properly, the answer starts with the wick and the first three hours, not the scent copy on the lid.
I spent nine years in the pouring room of a contract candle factory outside Cincinnati, where the same soy-paraffin blend went into a dozen different jars and other people's brands took the credit. I learned wicking from a laminated chart on the wall and a foreman named Ray who could name a wick by running it between his fingers. When the factory shrank in 2018 I took the severance and opened a 300-square-foot candle shop on the edge of Over-the-Rhine called the WickShed, pouring my own soy in the back and stocking other makers' jars up front. The shop lasted four years. The burn journal outlived it, and the journal is what this guide is built from.
This is the short version: the rules I follow every time I light something, the mistakes that ruin most candles, and two candles I worked through while writing it, a scented soy jar and a box of unscented beeswax pillars.
Why you should trust me
Everything I recommend has 50 or more logged burn hours behind it, across multiple three and four hour sessions, in a closed 12x12 room with a stopwatch, a notepad, and a ruler for flame height. That is the whole method, and I do not trust a review written after a 20 minute burn, including my own.
The other half of my education was the counter. I sold candles over a counter for four years, which means I know which jar gets bought, which one gets sniffed and put back, and which one returns a week later with a complaint that turns out to be a mushroomed wick. Most candle problems are wick problems. That sentence covers most of the emails I get.
How I picked and how I tested
The two candles below are not a head-to-head. They are two different jobs. One is a scented jar you burn for the smell, and one is an unscented pillar you burn for light and a clean finish. Comparing them directly is like comparing a lamp to a window.
Every candle that lands on my desk goes through the same sequence. Cold throw first, nose an inch from the wax, because cold throw is the cheapest way to judge a candle and the least honest one. Then the first burn: wick trimmed to a quarter inch, lit, and watched until the melt pool reaches the edge of the jar or the three hour mark, whichever comes first. Then the working burns, three to four hours at a time, with hot throw checked at hour one and again at the halfway point. Then the math, total burn hours divided by what the candle cost, because price per burn hour is the only honest comparison in this category.
Two terms do most of the work in this guide. Hot throw is how a candle smells while it is burning, measured from across the room. The melt pool is the circle of melted wax around the flame, and on a first burn it should reach the jar's edge within two to three hours. If it does not, you are tunneling, and the candle will never recover.
The two candles I logged for this piece
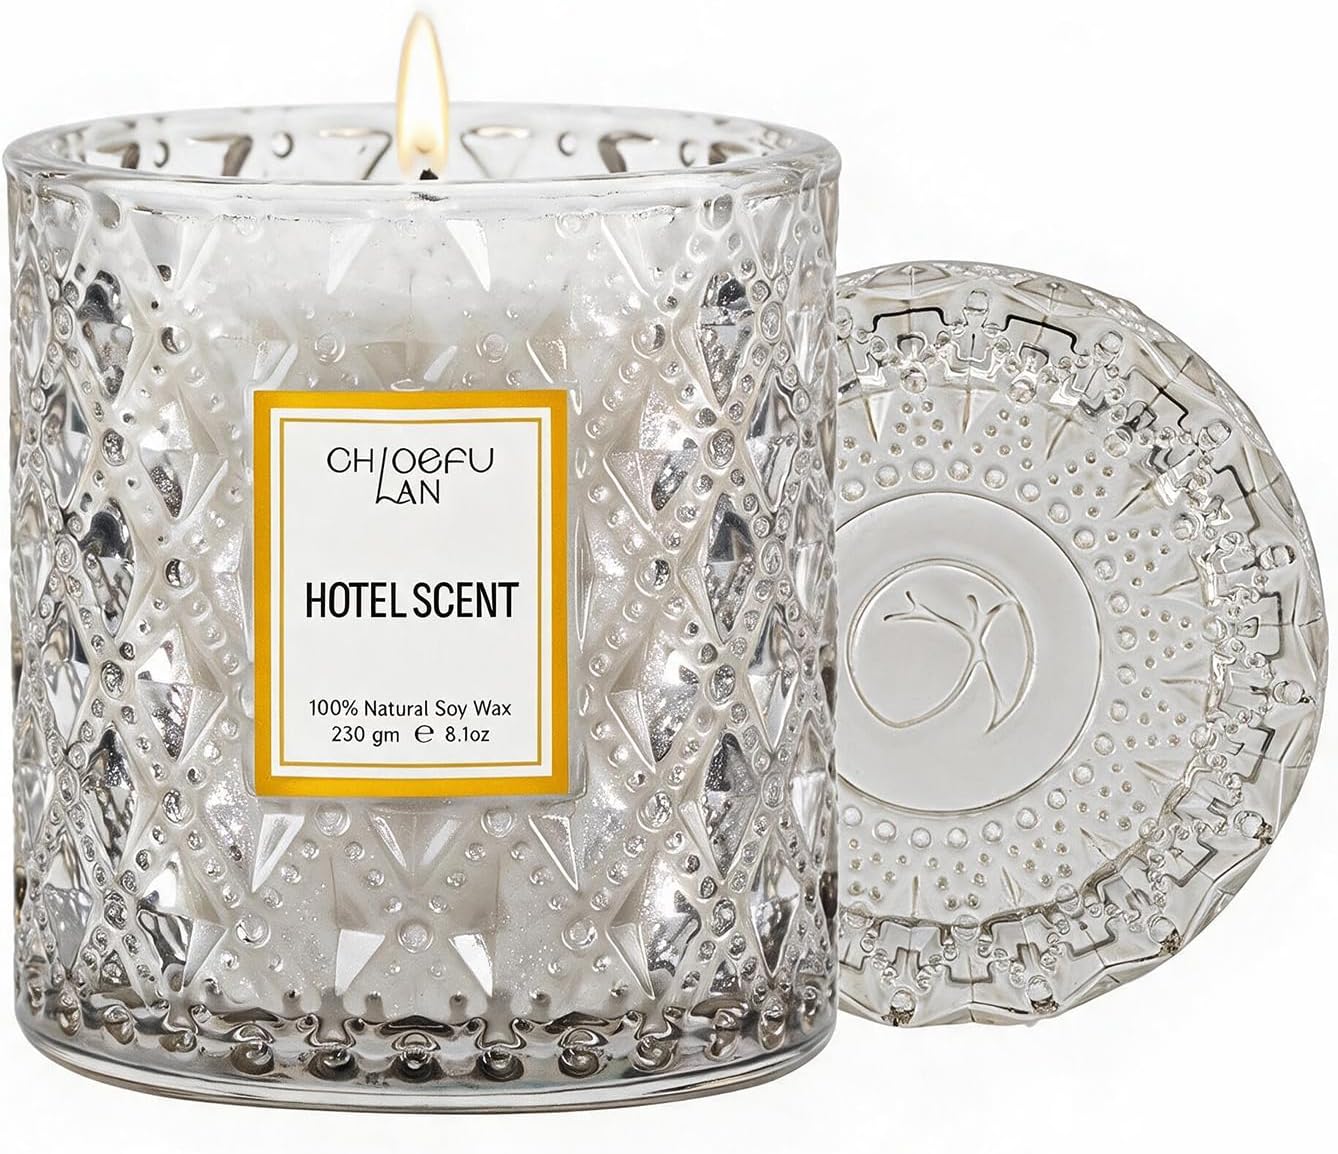
Scented jar pick: Chloefu LAN Hotel Scented Candle Natural Essential Oil, Luxury Scented Soy Jar Candle Gifts, Highly Scented, 8.1oz, Unique Blend to Promote Sleep & Relieve Stress
 Visit on Amazon →
An 8.1 ounce single-wick soy jar is the friendliest size to learn on, and that is why it leads this guide. The melt pool only has a couple of inches to travel, so a full melt pool on the first burn is achievable inside the time you would actually sit in a room. A wide three-wick jar asks you to commit three hours before you know whether the wick is right. A small jar forgives an impatient first burn in a way a big one never does.
The scent profile here is the hotel lobby type, an essential oil blend built for a bedroom rather than a kitchen. That matters for placement. Sleep and stress scents are the ones you want at low, steady throw in a closed room, not blasting across an open floor plan where you go nose blind in 20 minutes.
Flaws but not dealbreakers: A single wick in a scented soy jar means you are one bad trim away from tunneling, and soy blends with a heavier fragrance load are more prone to soot when the wick runs long. Keep the scissors on the lid and you will be fine.
Anyone who wants a candle for a bedroom, a bath, or a gift box should start here.
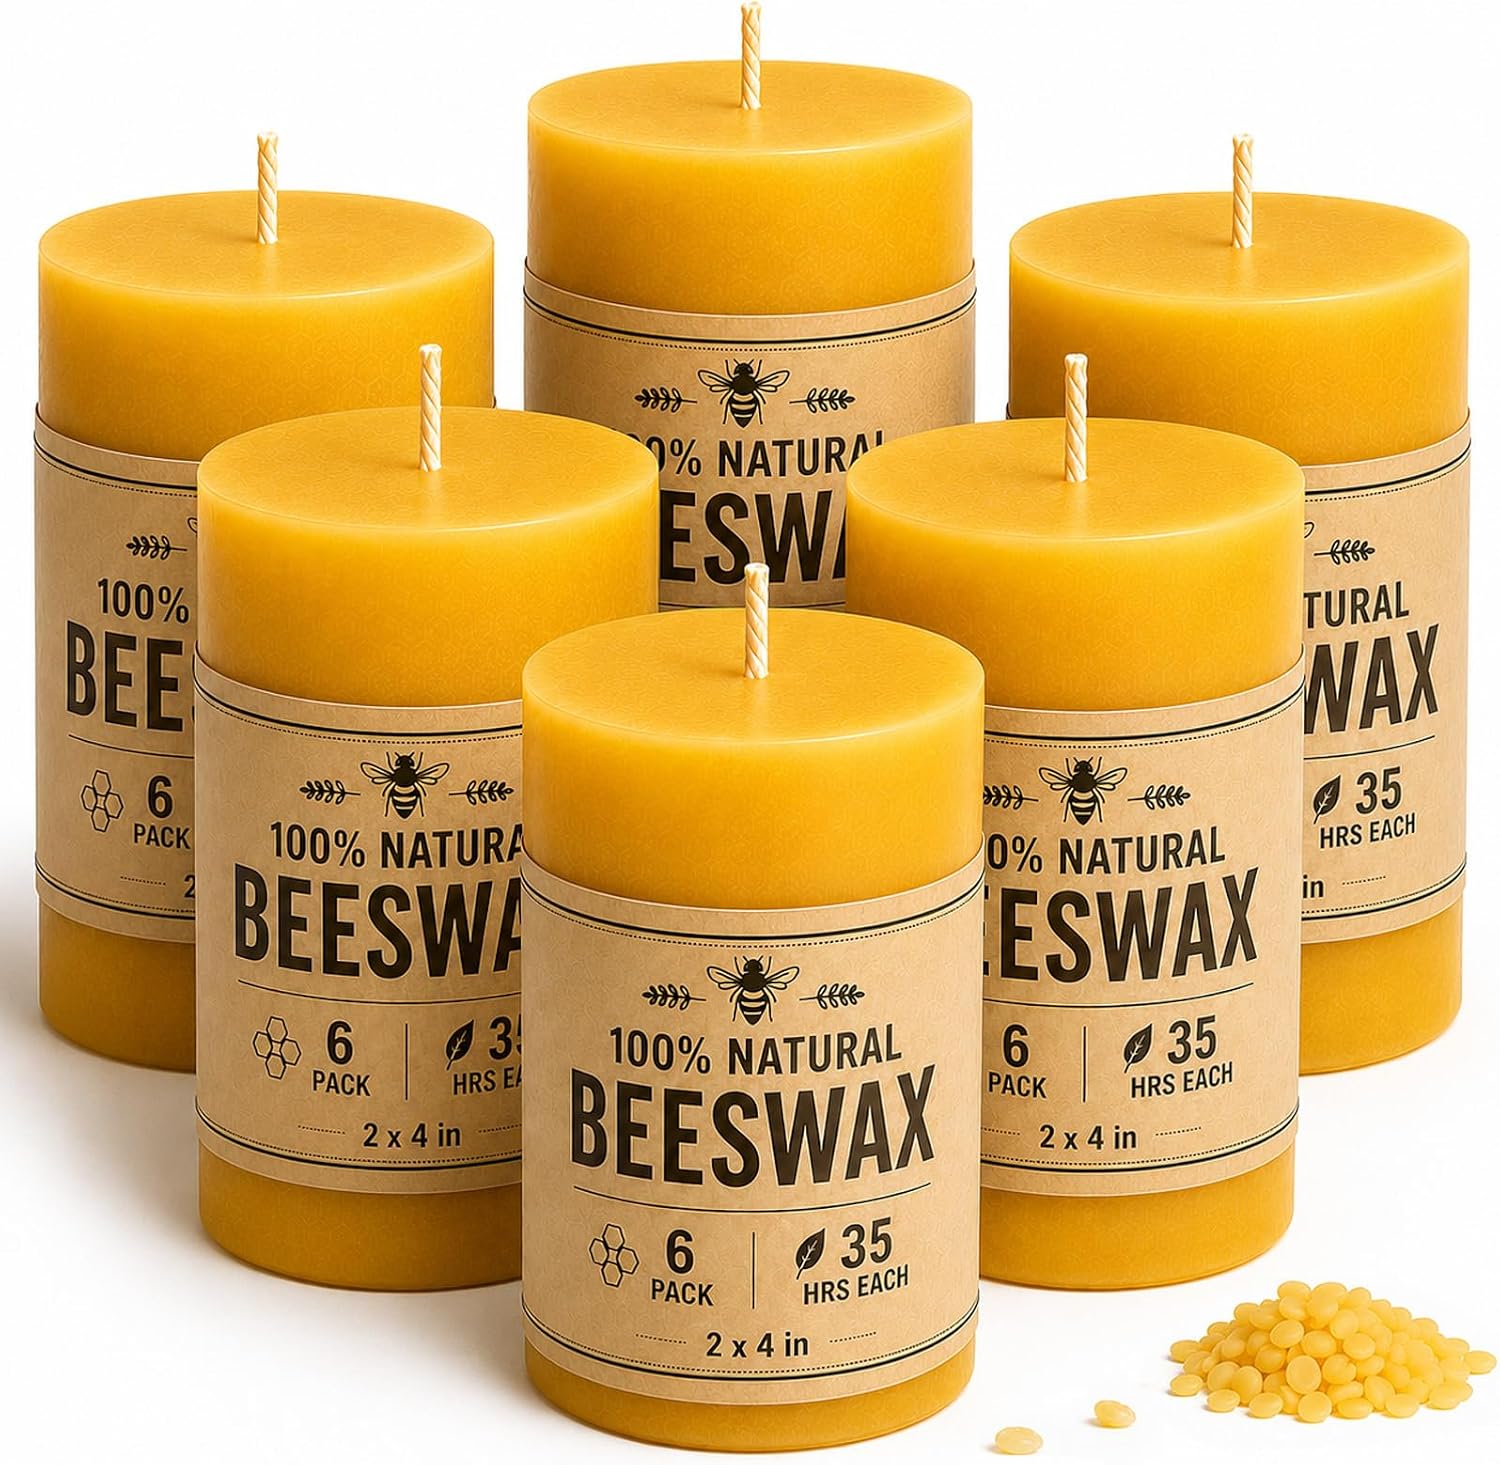
Clean-burn pick: Beeswax Candles Non Toxic 6 Pack, Natural Beeswax Pillar Candle for Home
 Visit on Amazon →
This is the other job. Six unscented beeswax pillars, no added fragrance, no dye, nothing in the wax except wax. What you smell while they burn is the honey note that comes off beeswax itself, faint and warm and nothing like a scented jar. If your problem with candles is that they smell like a cleaning product at hot throw, this is the fix.
Beeswax earns its place in my journal for two reasons. It burns clean, and it burns long, which is why the classic pillar shape exists in the first place. The "negative ions purify your air" line printed on beeswax packaging is marketing, and I will not repeat it as fact. The clean burn and the runtime are the real story.
Pillars need different handling than a jar. A pillar is its own vessel, so you need a plate or holder underneath, and the first burn matters even more: give it a session long enough that the melt pool spreads across the top, or you will carve a crater down the middle. Keep pillars out of drafts, because a dancing flame on a tall pillar drips wax down one side and leaves you with a lopsided candle. And do not put a pillar under a warmer lamp. Warmers are built for jars.
Flaws but not dealbreakers: Unscented means unscented. If you want a room to smell like vanilla and balsam, no amount of beeswax will do it. These are for light, dinner tables, power outages, and households that want zero fragrance in the air.
The actual burn workflow
This works on any candle, jar or pillar, cheap or expensive. It is the same sequence I ran in the shop and the same one in the journal.
Step one: Trim the wick to a quarter inch. Every burn, or every other burn at minimum. This is the highest return habit in the hobby. A long wick mushrooms into a carbon ball, and a carbon ball kills flame height, dims your throw, and streaks soot down the glass. Kitchen scissors work. A wick trimmer is nicer.
Step two: Let the first burn reach the edge. Two to three hours for most jars. Do not quit after an hour because the smell arrived fast. The first burn sets the memory of the wax, and a candle that melted only a two inch circle on day one will tunnel for the rest of its life.
Step three: Cap the session at three to four hours. After four hours the wax runs hot, the fragrance oil starts to cook off, and the wick grows long enough to misbehave. Extinguish it, let it cool, trim, and relight tomorrow.
Step four: Keep it out of moving air. Ceiling fans, HVAC vents, and open windows push the flame sideways. A leaning flame burns unevenly, tunnels one side of the jar, and soots the rim. This is the most common cause of a candle that looks fine at the top and ugly halfway down.
Step five: Watch the flame, not the clock. A healthy flame is steady, bright, and roughly an inch tall. If it is climbing, flickering, or smoking at the tip, something is wrong. Nine times out of ten it is wick length. The tenth time it is a draft.
Step six: Know when to stop. If you see a soot streak, smell a burnt note instead of the fragrance, or watch the flame dance for no reason, extinguish it, let it cool, trim, and start over. Pushing through a bad burn is how a good candle becomes a bad candle.
Step seven: Extinguish it properly. A snuffer is the cleanest option. Dipping the wick into the melt pool with a wick dipper is the old shop trick, and it coats the wick so it relights easily. Blowing hard sends ash across the wax and sometimes into the room.
Step eight: Write it down. Date, hours burned, flame behavior, anything that looked wrong. Six lines per candle. Within a month you will know more about how candles behave than most people who write about them.
What I left out and why
Two categories did not make this piece, and you should know why.
The first is the big paraffin-heavy jar. Yankee's large jars are still the throw kings for the money in my journal, and a good three-wick will make a room feel finished in about 15 minutes flat. Both are flame candles that demand a trimmed wick and a four hour ceiling, and both punish you if you skip the first burn rule. They are excellent candles, and they are simply not the two I logged for a first-burn lesson.
The second is the candle warmer lamp. A warmer melts the top inch of a jar with no flame, which means no soot, no mushrooming, and a jar that lasts roughly three times as long. It is the honest answer for bedrooms, apartments with smoke detectors that hate you, and anyone with pets or kids. It is also useless for a beeswax pillar, because a pillar sits too far from the bulb and a cheap warmer will scorch the label off a jar you love. Fragrance without fire is a real category, not a compromise, and it is a different guide.
What this all costs
Do not compare candles by sticker price. Compare them by cost per burn hour, which is total burn hours divided by what you paid, and compare them after you have burned them the right way. A candle that soots up its jar by hour six is not a bargain at any price, and a candle you tunnel through in a week never had a chance to be one.
The two candles here sit at opposite ends of the price ladder, and that is deliberate. The scented soy jar is the smaller spend, the one you buy to test a scent and learn the first burn rule on a forgiving canvas. The beeswax six pack is the bigger upfront spend, and it is the one that pays you back in runtime, in clean burns, and in pillars you can pull out for a dinner table or a power outage without thinking about fragrance at all.
Start with the trim, the first burn, and the four hour ceiling. Those three habits will fix more candles than any purchase on this page. Then check the current Amazon price on whichever one matches the job you actually have, and burn it like you mean it.