Most people burn a three-wick candle the way they burn a birthday candle: light it, walk away, come back when the room smells good. That works for about forty minutes, and then it quietly stops working. A wide three-wick jar is not three times as forgiving as a single-wick jar. It is three wicks that have to agree with each other, with a wide pool of wax, and with whatever fragrance load the maker poured in.
Learning how to burn a 3-wick candle properly comes down to four habits: trim the wick short, give the first burn enough time, never let a flame run past four hours, and snuff instead of blowing. That is the whole method. Everything below is detail, and the detail is where most jars are lost.
I'm Tessa. I spent nine years in the pouring room of a contract candle factory outside Cincinnati, then four years behind the counter of a 300-square-foot shop called the WickShed on the edge of Over-the-Rhine. The shop is gone. The burn journal is not, and everything in this guide comes out of it.
Why you should trust me
Nine years in a contract pouring room teaches you that a candle is a wax, a wick, and a fragrance that have to agree with each other, and that the label is the last thing worth reading. The same soy-paraffin blend went into a dozen different jars for a dozen different brands. I learned wicking from a laminated chart on the wall and from a foreman named Ray who could identify a wick by running it between his fingers. I learned that "premium" on a label is a sticker, not an ingredient.
Then four years behind a counter, where the same question came up every weekend: which one should I buy? I stopped guessing and started burning. Every candle I recommend here has fifty or more logged burn hours behind it, burned in a closed twelve-by-twelve room with a stopwatch, a notepad, and a ruler for flame height. Cold throw gets noted at the start. Hot throw gets noted at hour one and again at the halfway mark. Soot and mushrooming get noted whenever they show up.
That is the standard. If a candle has not been through it, it does not get a recommendation from me.
How I picked and how I tested
For this walkthrough I wanted one wide three-wick jar and one multi-candle set, because those are the two formats that teach the method fastest. A wide jar punishes a lazy first burn. A small tin punishes a wick that is too big for its vessel. Between the two you learn everything that matters.
The things I check before anything else:
- Wick count against jar diameter. Three wicks in a four-inch jar is a different animal from three wicks in a three-inch jar, and the first burn tells you which one you bought.
- Wick type. Cotton, wood, or zinc-core. Each wants a different trim and a different burn rhythm.
- The first melt pool. Does it reach the glass in two to three hours, or does it stall in the middle and start digging?
- Soot and mushrooming at hour four. This is where a badly matched wick reveals itself.
- Hot throw at hour one and again at the halfway mark, because a candle that opens strong and fades by hour three is one of the most common tricks in the category.
I do not score a candle on how it smells unlit. Cold throw is the cheapest way to judge a candle and the least honest one, because hot throw is the whole game.
The two candles in this walkthrough
Two formats, two different sets of wick problems, one routine.
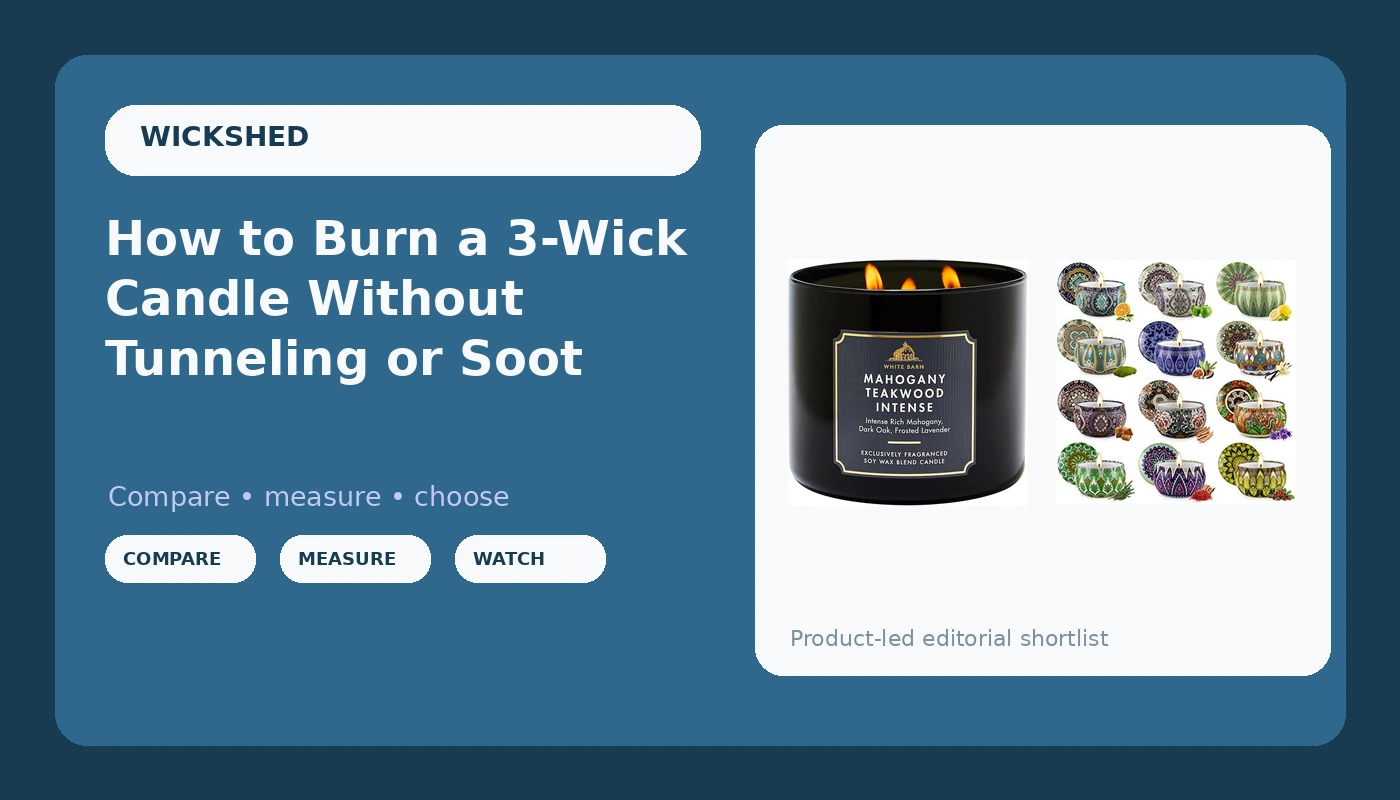
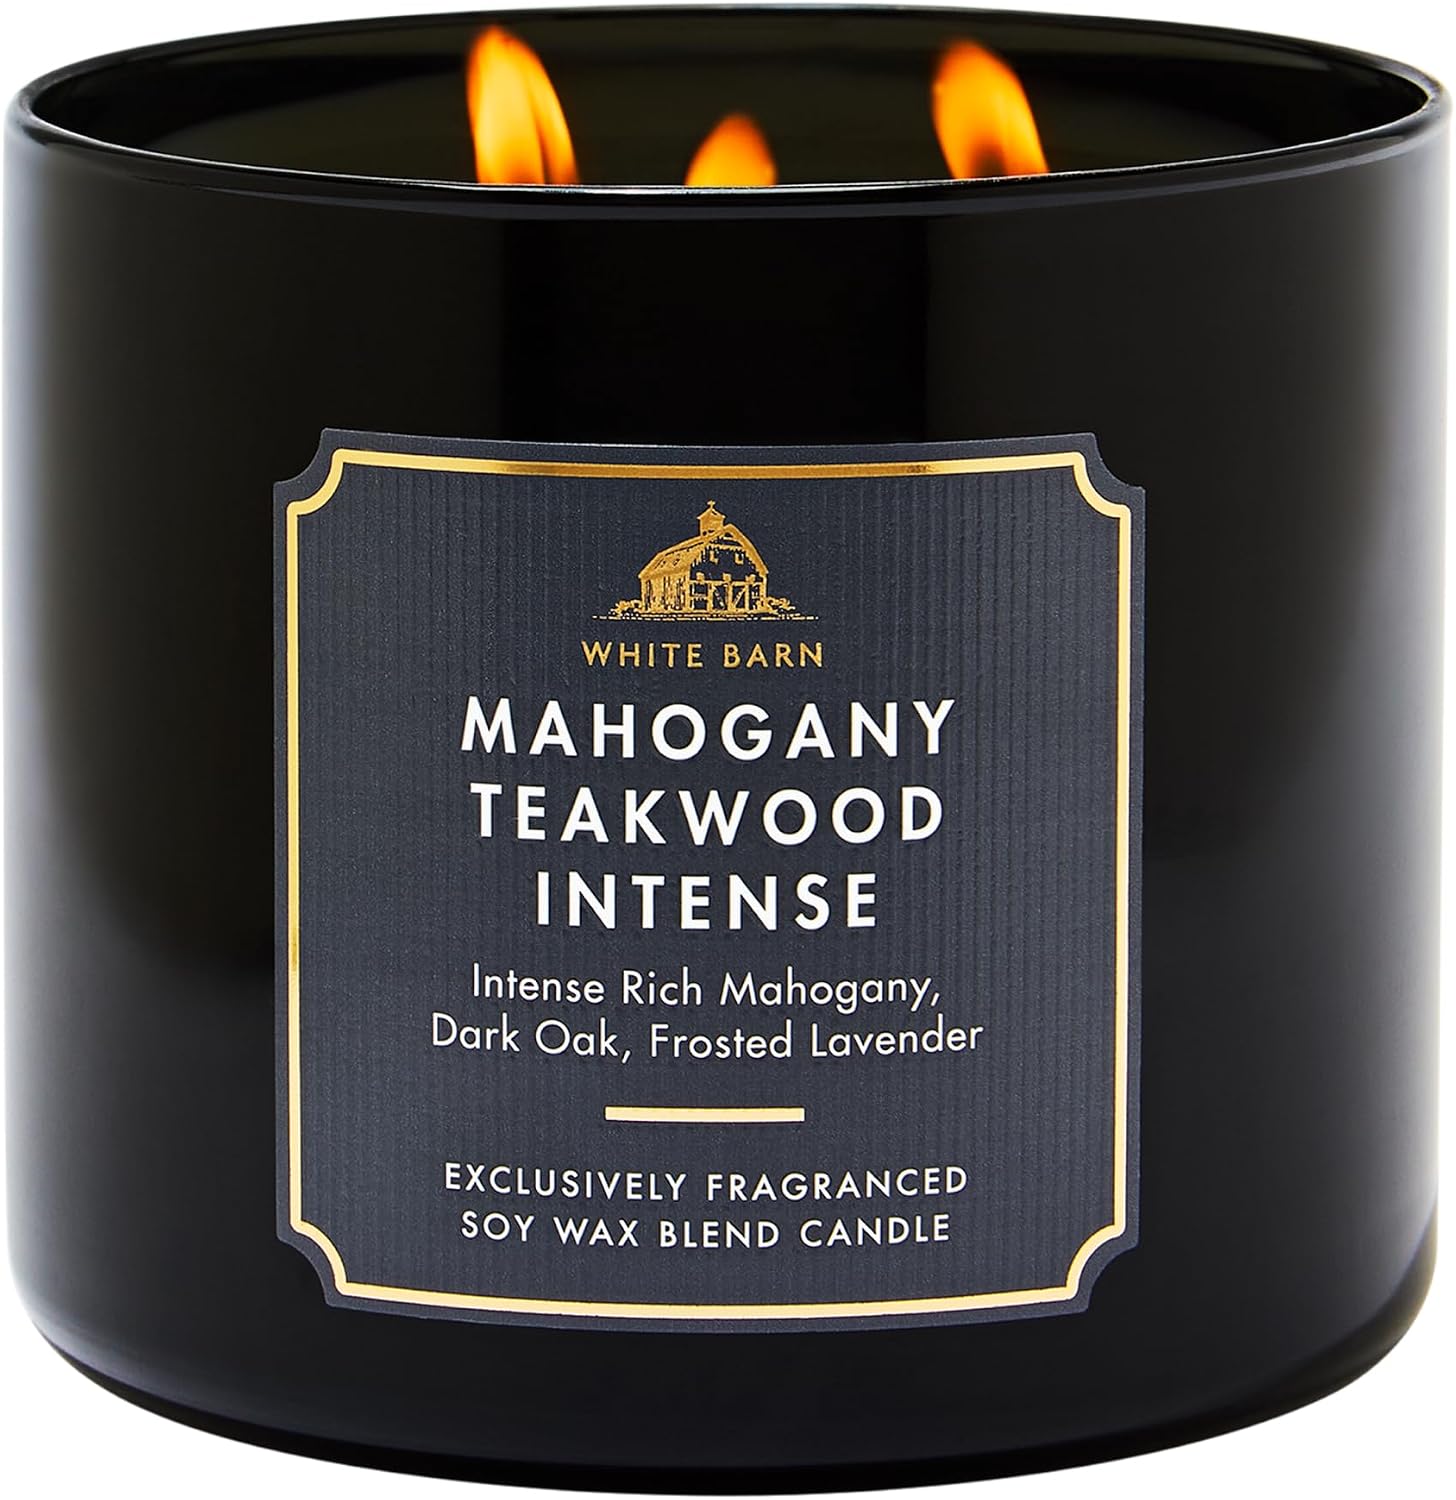
The wide-jar pick: Bath & Body Works 3-Wick Candle, Mahogany Teakwood Intense, Soy Wax Blend
 Visit on Amazon →
This is the format that makes the method obvious. A wide three-wick jar has a lot of wax surface to melt, and the three flames have to cooperate to pull the pool all the way to the glass. Get the first burn right and the jar burns clean for the rest of its life. Rush it and you are looking at a wax tunnel with three wicks stuck in the middle of it.
Mahogany Teakwood Intense is a heavy, woody, cologne-adjacent scent, which makes it a fair test of throw. Dense woody notes tend to show up better at hot throw than light florals do, so if a candle cannot carry this across a room, the wick is the problem, not the fragrance oil.
The trade-off is burn time. A three-wick jar of this size runs hot and fast compared to a single-wick jar of the same weight, which is exactly why the four-hour rule matters more here than anywhere else. Check current Amazon price before you commit, because this is a jar that rewards patience and a sale.
Flaws but not dealbreakers: The wide mouth means the melt pool takes longer to reach the edge in a cool room. If your house runs cold in winter, give the first burn the full three hours instead of two.
Anyone who wants a room to feel finished twenty minutes after the match is struck will be happy with this one.
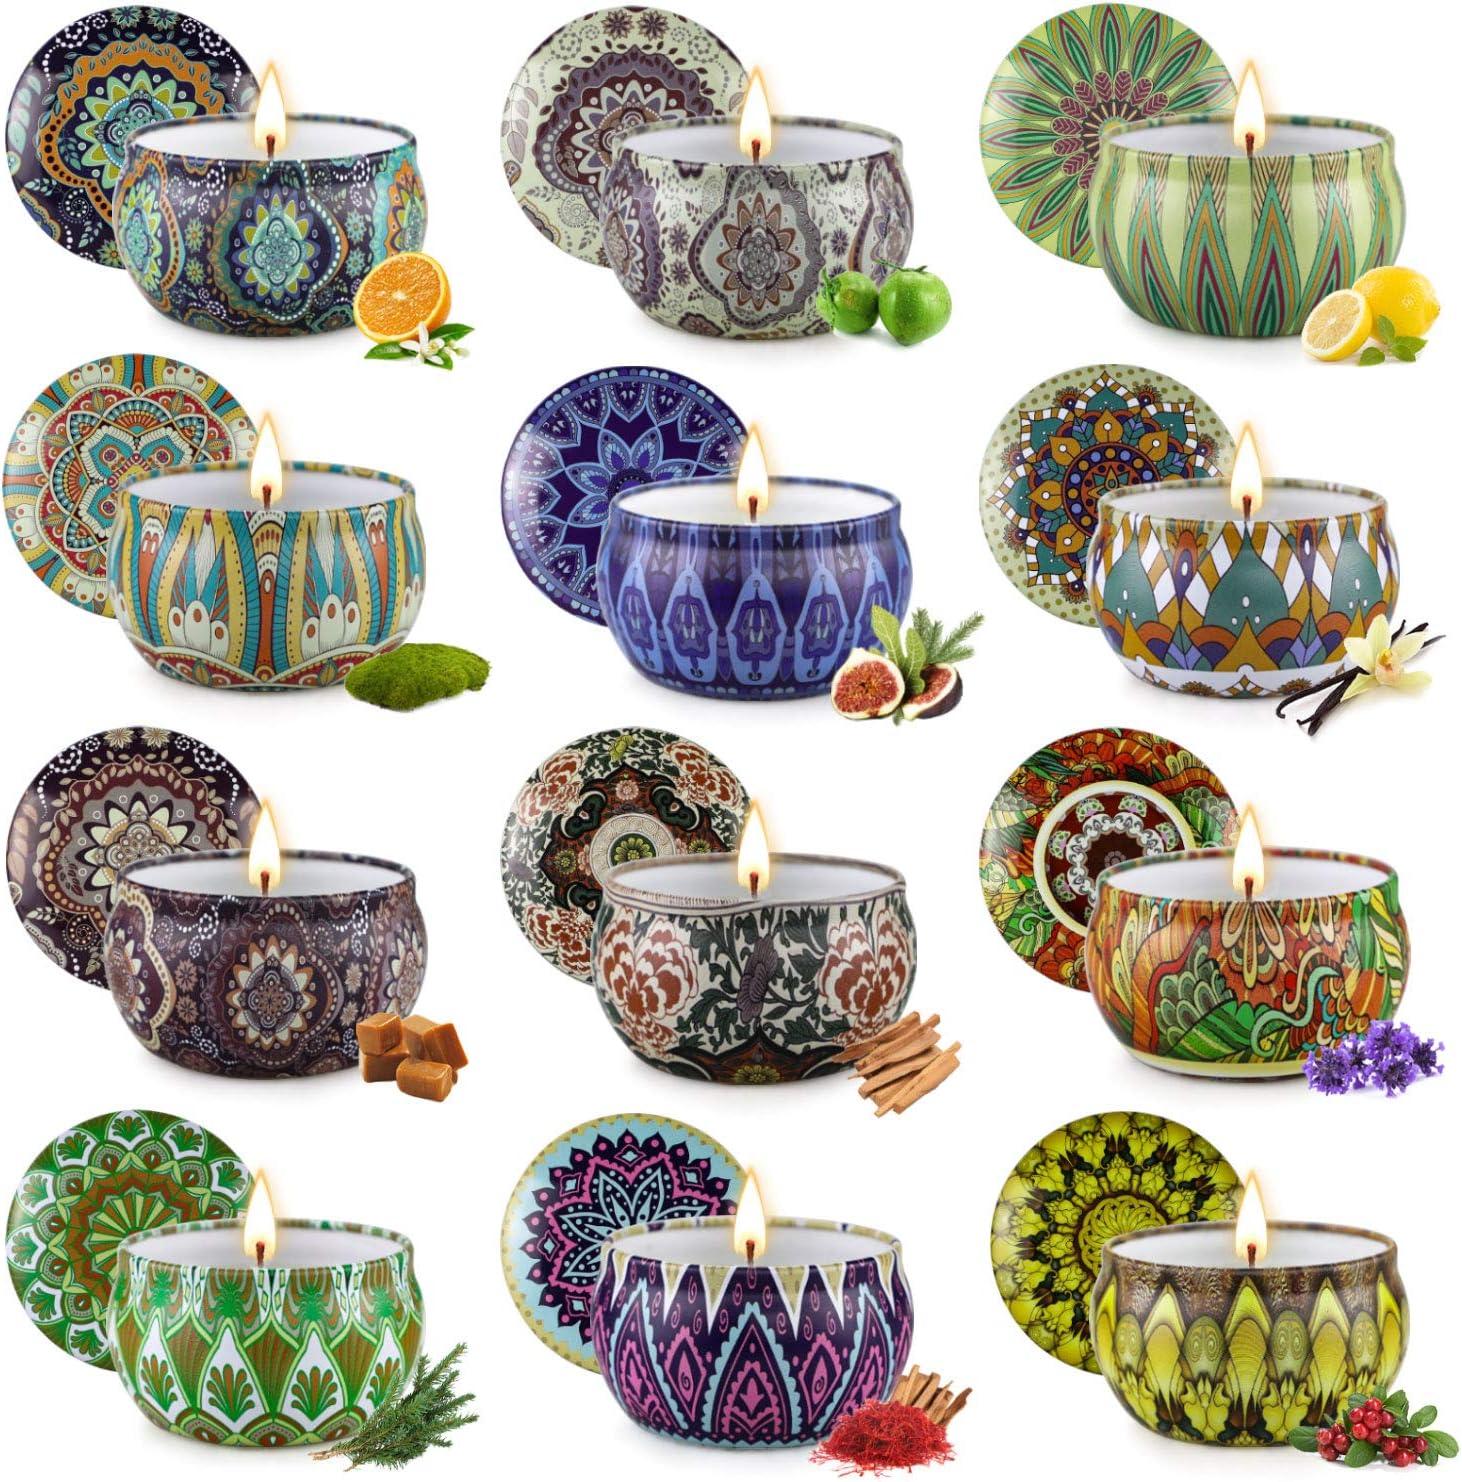
The tester-pack pick: Scented Candles Gift Set, 12 Pack Soy Wax Aromatherapy Candles
 Visit on Amazon →
A twelve-pack of small soy candles is not a lesser candle. It is a different job. Small vessels heat up fast, which means the melt pool forms quickly and the wick-to-diameter ratio is exposed inside the first hour. If a small tin has a wick that is too big for it, you will see a tall flame, a hot jar wall, and a soot streak before the second burn is over.
That makes a set like this the cheapest way to practice the method. Twelve small candles give you twelve first burns, and the skill you build on a two-inch tin transfers straight to a wide three-wick jar. It is also the honest way to test a brand you have never burned. One candle out of a set tells you more about a maker's wicking than any product page ever will.
The catch is that small candles are not room-fillers. They are desk, bathroom, and hallway candles. Expect a close-range scent rather than a house-wide one, and keep them out of drafts.
Check current Amazon price for the set before you buy, and remember that a set is a set: burn one before you gift the rest.
Flaws but not dealbreakers: Twelve tiny vessels mean twelve wicks to trim and twelve jars to store. If you want one candle for one room, this is the wrong purchase.
Anyone building a gift basket, testing a new brand, or learning to read a flame should start here.
The first-burn workflow, step by step
This works on any candle in a glass or tin. If your candle is a pillar, the same rules apply with a plate underneath.
Step one: Trim every wick to a quarter inch. Not a half inch, not "close enough." A quarter inch. Kitchen scissors work fine, and if you burn candles more than once a week, a wick trimmer is the ten dollars that saves your jars. Do this before every single burn, not every other one.
Step two: Pick a room without a draft. A ceiling fan, an open window, a heating vent, or a doorway with traffic will make the flame dance. A dancing flame burns uneven, mushrooms faster, and throws soot. If the flame is leaning, the candle is losing.
Step three: Give the first burn two to three hours. The goal is a melt pool that reaches the glass on every side. This is the single most important rule on the page. Wax has a memory, and a first burn that stops short teaches the candle to tunnel for the rest of its life.
Step four: Never burn past four hours. After four hours the wick has usually mushroomed, the wax is hot all the way through, and the fragrance oil has started to burn off rather than evaporate. Blow past that and you get soot, a weak throw, and a jar that smells like a hot parking lot.
Step five: Snuff it, do not blow it. Blowing sends a puff of carbon across the melt pool and can push the wick off center. A snuffer or a lid does the job in three seconds and keeps the glass clean.
Step six: Trim again before every relight. This is the step people skip. The carbon ball on the tip is what kills flame height, dims the throw, and streaks the jar. Trim it and the candle behaves like new.
Step seven: Keep the jar out of direct sun and away from the wall. Heat and light fade fragrance oil, and a jar pressed against a wall traps heat on one side, which makes the pool lopsided.
Step eight: Stop at the last half inch of wax. Below that, the wick has nothing to stand in, the glass gets hot, and the fragrance load concentrates into something acrid. Let it go and you will not enjoy the ending.
Step nine: Finish the last inch on a warmer lamp if you have one. A warmer melts the top of the jar with no flame, so no soot, no mushrooming, and roughly triple the life out of the last stretch. The trade-off is a gentler throw and the loss of the ritual. Never leave a cheap warmer unattended with a jar you love, because they run hot enough to cook a label.
Troubleshooting: what the candle is telling you
The candle is tunneling. The first burn was cut short, or the wick is too small for the jar. Fix it by burning long enough to melt the walls down, and if it keeps happening, wrap a strip of foil around the top with a hole in the center to trap heat.
The wick is mushrooming. It is untrimmed, or the fragrance load is high enough to feed the carbon. Trim to a quarter inch and the mushrooming slows to a manageable rate.
There is a black streak on the glass. Soot, almost always from a long wick or a draft. Wipe it while the jar is warm with a dry paper towel, before it bakes on.
The flame is too tall and dancing. Wick too long, draft too strong, or both. Trim and move the jar.
The scent disappeared at hour three. The wick is now too long and the flame is burning fragrance instead of evaporating it. Trim, relight, and give it twenty minutes.
The wick keeps drowning. The melt pool is deeper than the wick is tall, which usually means the wick is undersized for the jar. Pour off a little melted wax with a spoon, or retire the jar to a warmer.
The jar is too hot to touch. Something is wrong. Wick too big, burn too long, or too little wax left. Put it out.
Which format to buy
If you want one candle for a living room, buy the wide three-wick jar. It gives you the biggest hot throw for the least effort, and the method above keeps it burning clean. If you want to learn the craft, test a brand, or build gifts, buy the set. Twelve small candles teach you more about wicks in a month than one big jar will in a year.
What this all costs
Do not compare candles by sticker price. Compare them by price divided by clean burn hours, because that is the only honest number in the category. A jar that costs twice as much and burns three times as long is the cheaper candle, and a jar that soots up the glass by hour six is expensive at any price.
The rest of the math is free. A quarter-inch trim costs nothing. A snuffer costs a few dollars. Burning four hours instead of nine costs you nothing and adds hours to the jar. The habits are the discount.
Do the first burn properly, trim before every relight, and stop at four hours. That is the entire job, and your candles will outlast the ones your friends are complaining about.